All over Behance and agency websites, there are multiple images that are clearly mock-ups, but they are far better than the ones that I have previously created. It was pretty obvious to me that there is some kind of way of creating these mock ups easily as there is such a huge amount of people with them in their portfolio. I had also come across a few free mock ups available on Behance but had not downloaded them.
I started by going to Google and trying to find some websites that had mock ups.
The first website I came across was psdcovers, which works with Photoshop Actions. This is something that I hadn't worked with or heard of previously, but the mock ups available on this website looked good enough to learn something new for.

On the website there was a section on tutorials which was very helpful in helping me get to grips with this software.


I downloaded the mock ups I wanted and installed them into Photoshop.

From this point the file appears in two steps. I then select the two of these and press the 'play' button at the bottom of the menu. This sends Photoshop through an automatic set of actions to set up the document.
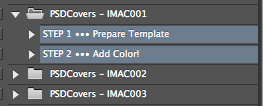

The second is the file of the space where the design content will go.

In this case, the mock up is very easy as it is a straight design.
I went through and edited it quickly to see how it worked.
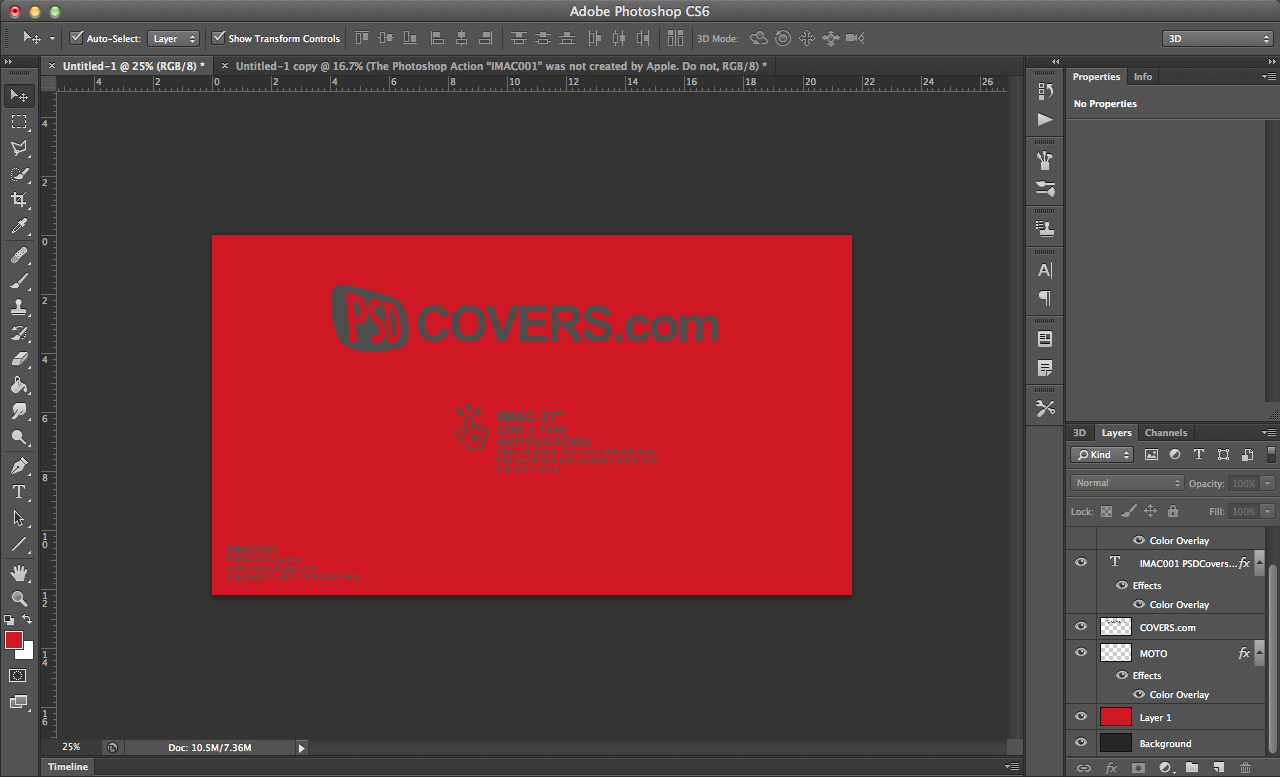


At this point I am happy with the mock up. It certainly has a professional feel in the fact that the screen glare is seen over the design now.
I then moved onto another mock up which involves the screen being at a slant. This is the kind of mock up which will be good to know how to work.
I opened the file and went through the same process.


This definitely looks much better than previous attempts I have done without a mock up as the exact screen size is given, making it easier for me to design to for these mock ups.
While I think that this website and mock up process will be good for straight forward designs like mac screens or something flat, when it comes to curved items such as cups or bottles, I know I will definitely struggle and something which does it for me is something I need to find.
I went back to looking for more websites with mock ups and came across Pixeden, which works with Photoshop smart object mock ups. These are the exact kind of mock ups I need, as it has branding sets and a lot more.

The majority of the mock ups are free, but the better ones do need a paid account to access. I decided against that as I have got what I need from the free selection.
I opened up one of the files.


Corresponding smart layer:


I think that this kind of mock up process is much easier than the previous mock ups I found. The smart layer tool makes it much, much easier to work and means I don't have to spend a huge amount of time on the mock ups. I just need to put the design in and Photoshop will do the work.
After spending a good while playing around with a few mock ups I found that I was much more confident in this area of design and think that it has been a very helpful and productive task I set myself. I think that the inclusion of this into my work is what I need to make it look that bit more professional.
No comments:
Post a Comment